Amazon EC2 Step-By-Step…
If you don’t already have a publicly accessible host, I recommend an Amazon EC2 instance (as opposed to a Google Cloud Host) because managing ssh keys on the Amazon host is easy, its just another linux box.
So… create a micro EC2 instance like this (I’m assuming you can figure out how to make an account on your own.):
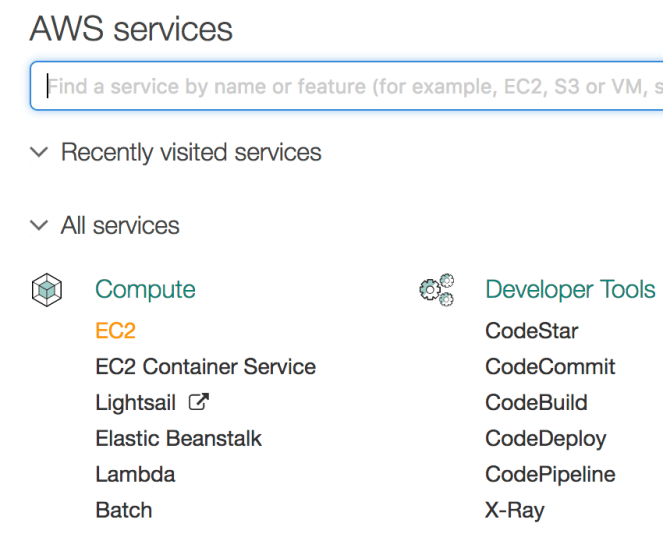
EC2 hosts come in many forms. You’ll be creating a very simple tiny host, whose whole job in life is to become your proxy. So lets create an instance. Select:

Select the OS…
Once you enable your account to create an instance, it then presents you with the OS selector. Lets go with Ubuntu 16.04, its the most common, and the closest to the raspberry PI that you are so familiar with.

Select the size… go free!
Go with the micro… ’cause its got the free tier, which you are likely to never exceed.

Network setup: This is where you’ll need a little patience…
You need to jump through a few hoops here. Its silly, but Amazon is a utility company, so they provide customization for every facet of setting up a machine. There are lots of other companies that sit on top of Amazon to make things easy, but its good to understand the stuff that underpins them all.
So… we need to make a network interface to your soon-to-be proxy:

Create a VPC…
Click “Create new VPC” (you see that I already have a few) but you’ll need a new one.
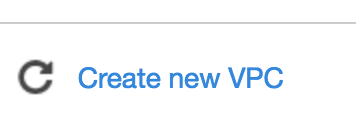
VPC stands for Virtual Private Cloud, and came about when people started wanting to create isolated environments for their web services. In any case you need one. So click create:

Pick a name for your new “private cloud”:

And put in the IP address range. Just use the default like I did:

The click create:

When that’s done, you should see your new VPC!

Now – lets get back to your instance, which should still be waiting in another tab, take a look at the “Network” line. See the little “refresh” button? Hit that:

This:

Create a subnet…
Now, that drop down will contain the new network you created. But wait, it complains! We’ll fix it:

Click “Create new subnet” which pops a new tab with the subnets page:

Click “Create Subnet”:

Give it a name, and the entire CIDR block – I use the same as the VPC. For me they’ll always be tied.

Then click “Yes, Create”:

Yay! You have a new subnet:

Now… back to your EC2 Host Creation tab…
Hit that refresh button again:
And your subnet will auto-populate:

Finally… MAKE SURE TO SELECT Auto-assign Public IP!!!
Otherwise you have to do a bit more work. 😉
Launch the instance… but wait, you need a key!
Finally, you can review and launch… When you do… it will ask you about a key. Select “Create a new key pair”
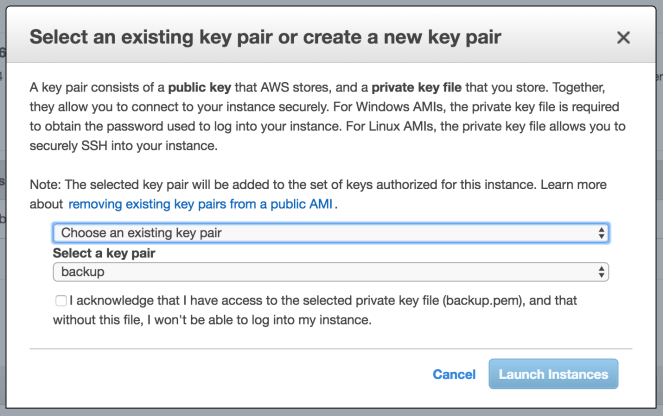

Give it an easy-to-remember name.


This part is important. This “pem” file is your private key. You’ll need it to ssh into your new host! So, take a look in your downloads directory and make sure you can find it.

Instance launched!
Once you get through all of that… Success! You are now starting an EC2 instance. Once that process is complete… lets setup the network routing so you can actually reach your new shiny host!

SSH Into your host!
Ok, you have a machine out there on the internet… waiting for you to get into it and customize. So lets ssh into it for the first time, note, my IP is 52.91.144.177, yours will be different:
ssh -i sshbastion.pem ec2-user@52.91.144.177
Note, the path for your pem file, needs to be correct, and the permissions for the pem file need to be correct.
If you need help finding your IP its on the bottom of the ec2 screen here:

To change permissions on your pem file:
chmod 600 sshbastion.pem
Then when ssh’ing, you might have to add a path:
ssh -i ~/Downloads/sshbastion.pem ec2-user@52.91.144.177
Voila… you should be in!

One thought on “Creating an Amazon AWS EC2 Instance… for all your cloud compute needs.”